
Tworzenie Klubów
Wymagania
Aby utworzyć klub, potrzebujesz:
Zdjęcie w tle
Herb klubu
Crest's belt
Stworzone role
Utworzeni Gracze
Utworzeni członkowie zespołu
Tworzenie nowego klubu
Aby utworzyć nowy klub:
Przejdź do pulpitu nawigacyjnego Klubu

Kliknij na czerwony przycisk Nowy Klub nad tabelą.

Otworzy się nowy formularz klubu.
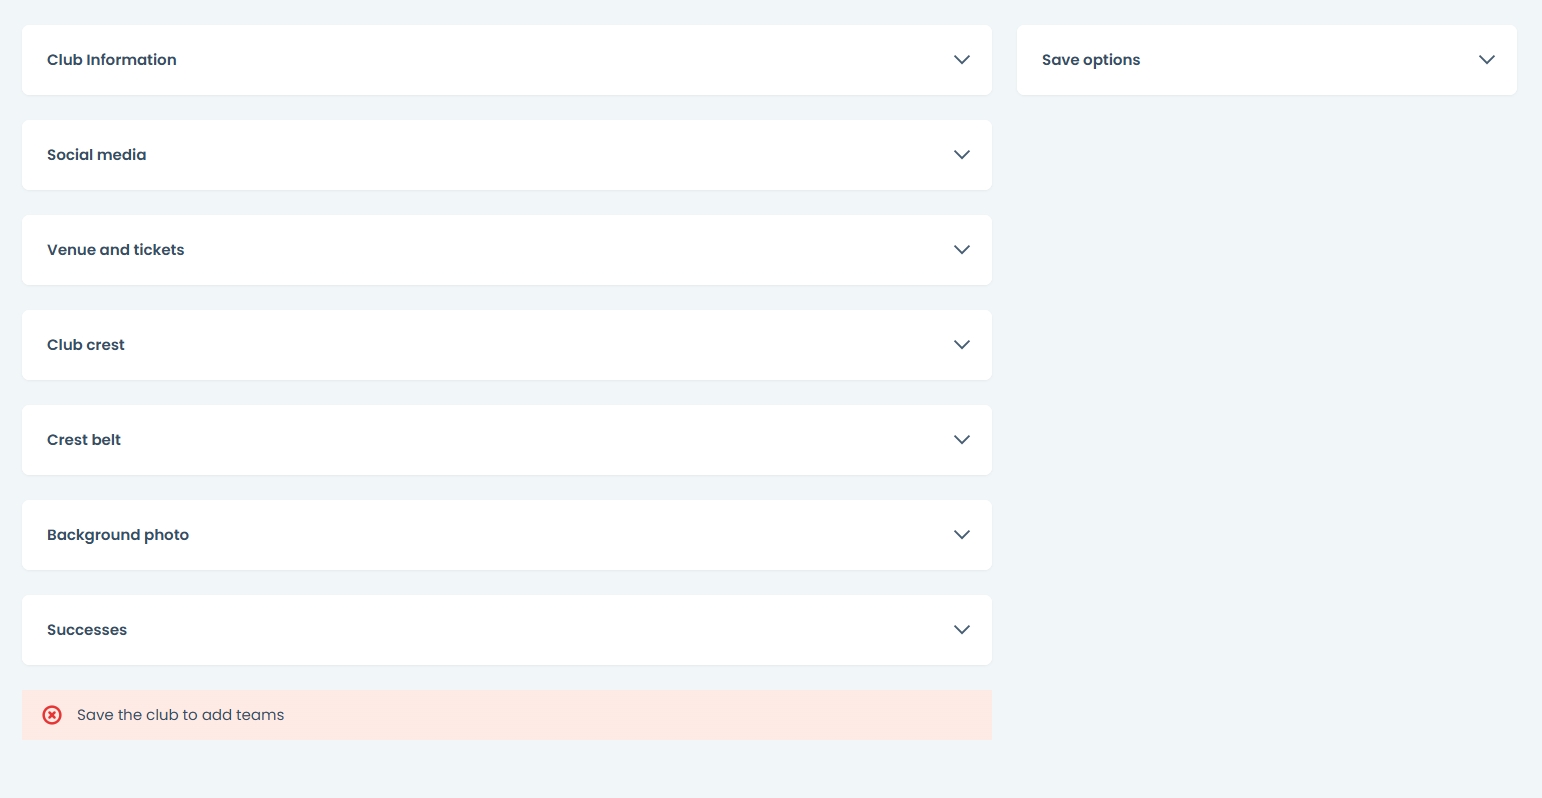
Wypełnianie formularza
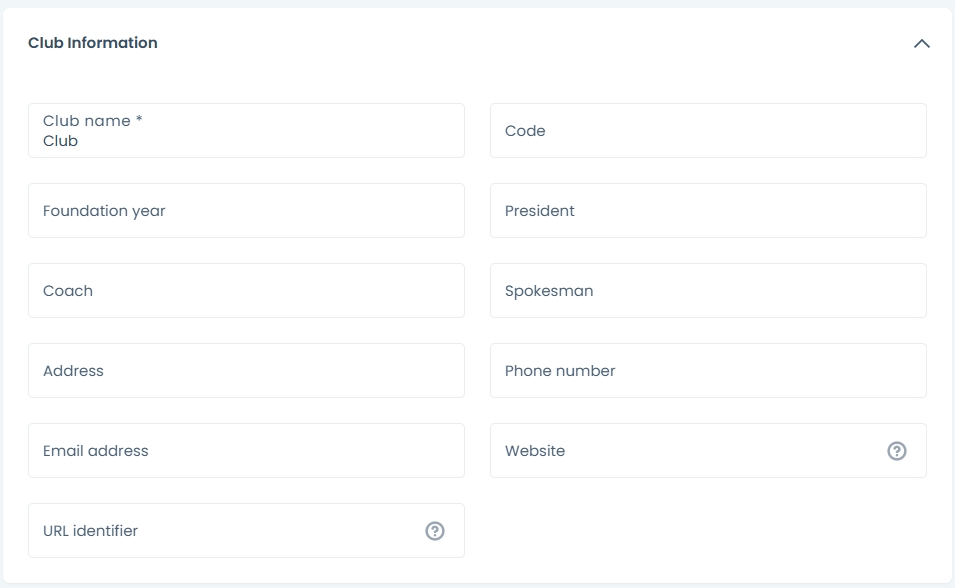
Informacje o klubie
Podaj następujące informacje, które zostaną wyświetlone na stronie głównej klubu:
Nazwa klubu
Rok założenia
Trener
Adres
Adres e-mail
Identyfikator URL
Kod
Prezes
Rzecznik
Numer telefonu
Strona internetowa
Media Społecznościowe
Na panelu mediów społecznościowych wpisz pełny adres URL profilu klubu. Linki zostaną wyświetlone z odpowiednią ikoną mediów społecznościowych.

Obsługiwane media społecznościowe to:
Facebook
YouTube
Instagram
TikTok
Twitter (X)
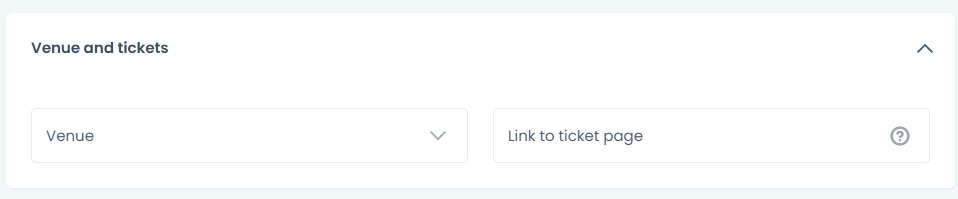
Lokalizacja i bilety
Wybierz stadion i podaj link do strony z biletami.
Wejście:
Zdjęcia: Herb klubu, Pasek herbowy i Zdjęcie tła
Kluby wymagają herbu i wizerunku pasa herbowego, które mają być wyświetlane na stronie głównej.
Uzupełniony powinien wyglądać tak:

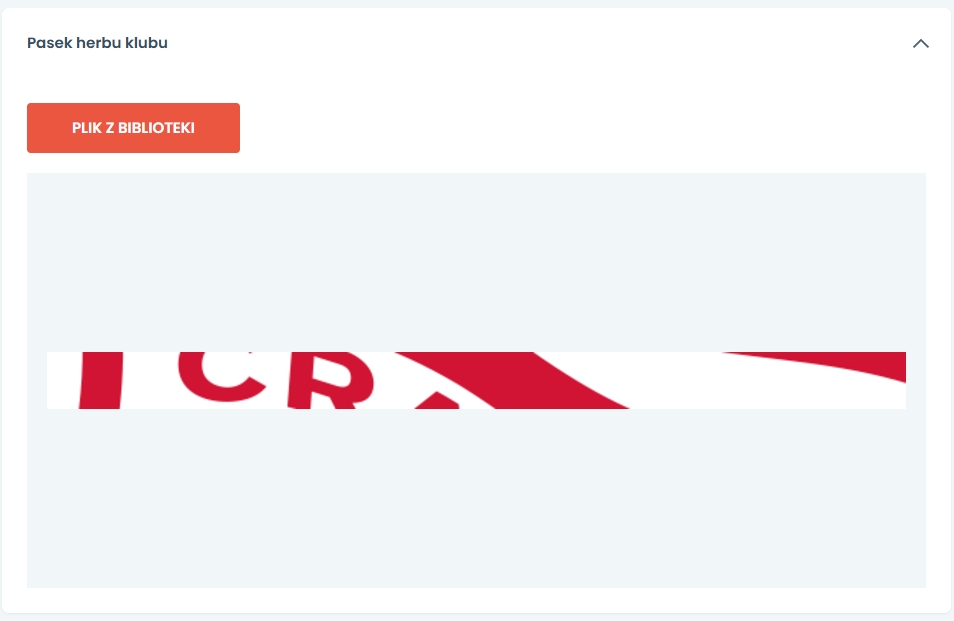
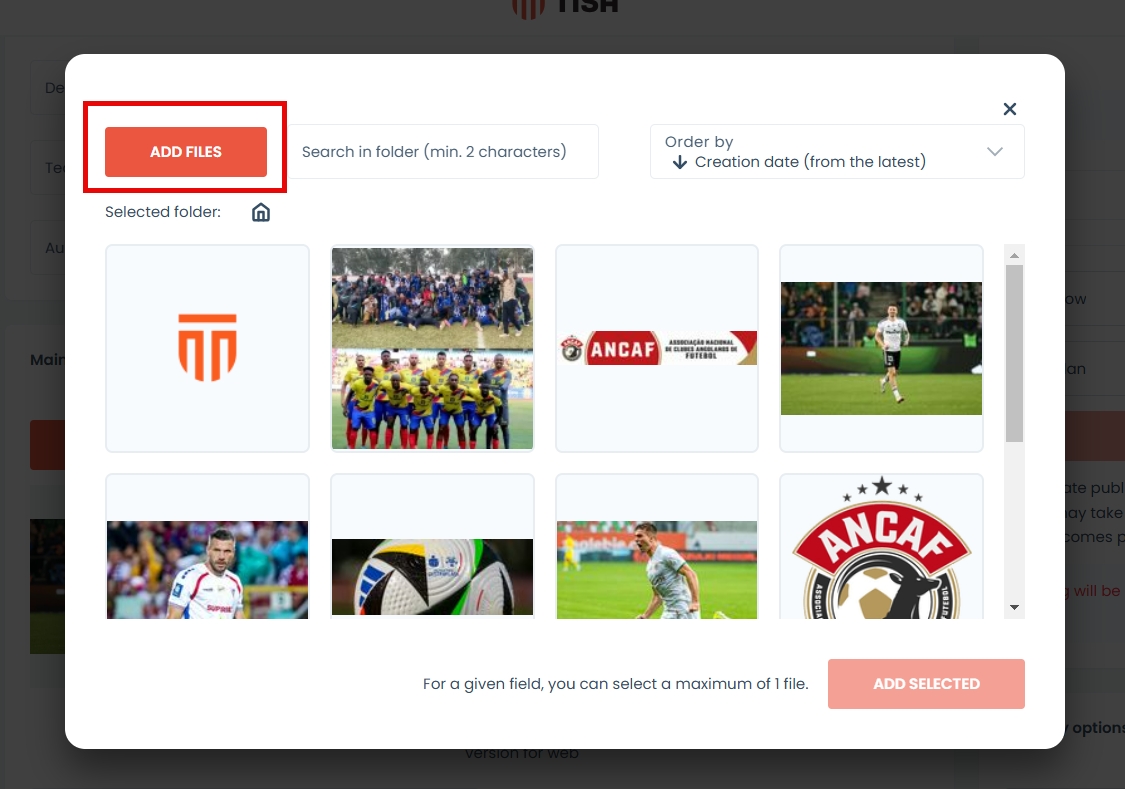
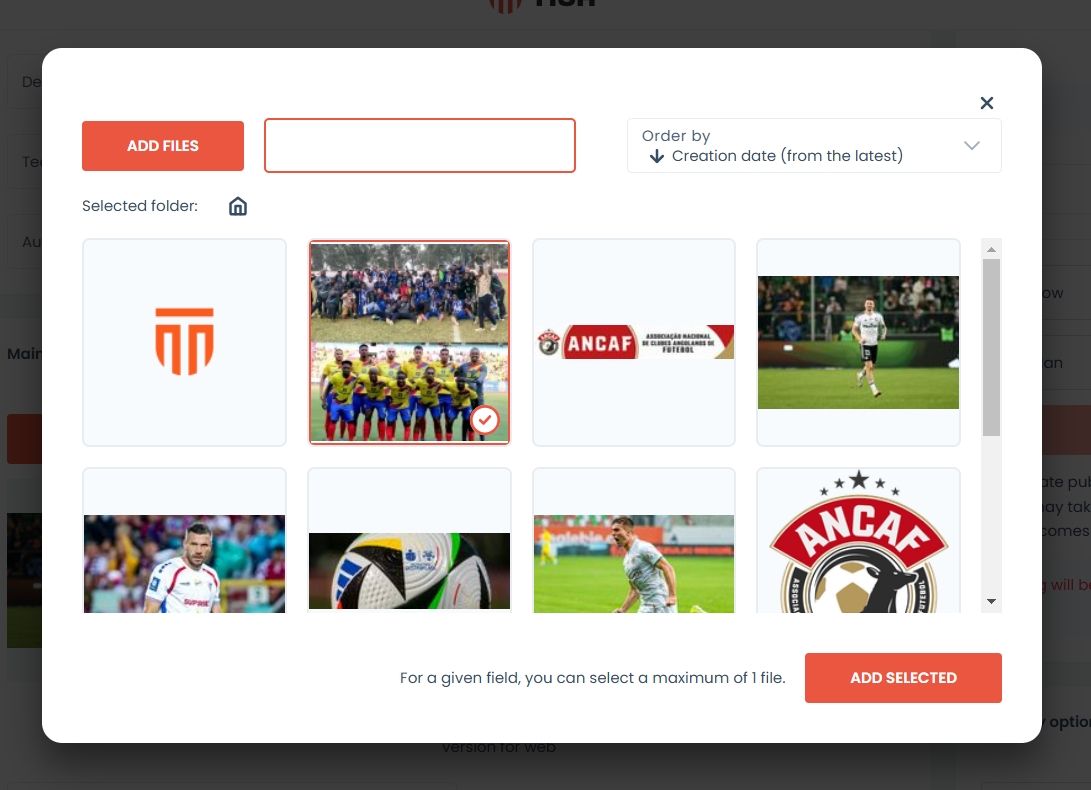
Aby dodać obraz, kliknij przycisk plik z biblioteki. Pojawi się panel Biblioteki Mediów.
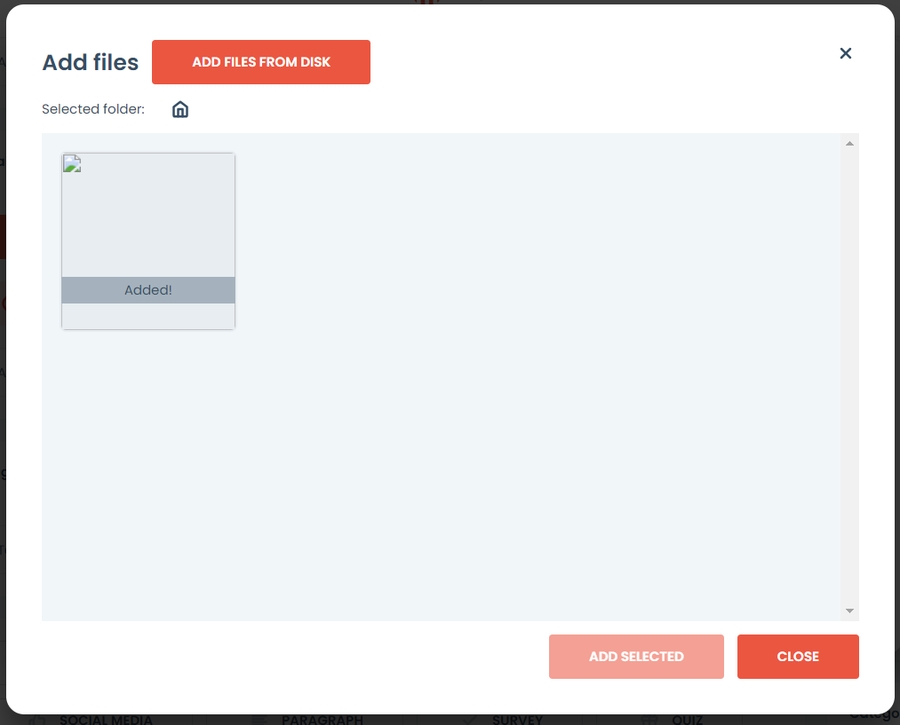
Jeśli nie masz plików w bibliotece mediów, możesz również dodać obrazy bezpośrednio z komputera. Aby to zrobić, musisz:
Otwórz bibliotekę, wybierając Plik z biblioteki
Naciśnij opcję Dodaj pliki

Press add files from disk or drag them directly onto the grey field.

Pojawi się komunikat informacyjny, czy przesyłanie zakończyło się sukcesem.
Plik jest teraz w bibliotece. Naciśnij zamknij, aby powrócić do formularza.
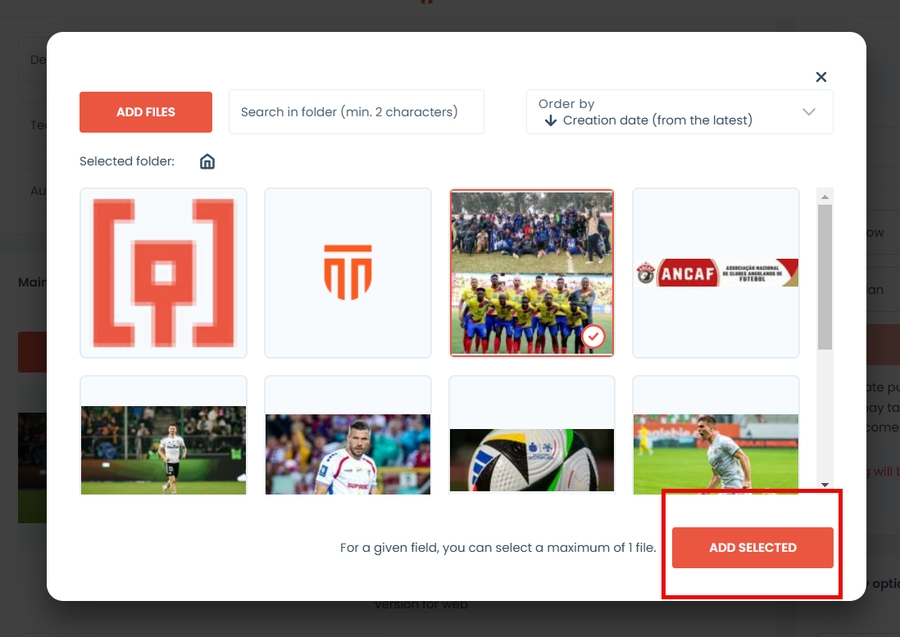
Wybierz obraz i naciśnij przycisk dodaj wybrane.
Jeśli masz już przesłane zdjęcie, przejdź do kroku 6.
Jeśli nie możesz znaleźć obrazu, użyj jednej z opcji przeglądania:
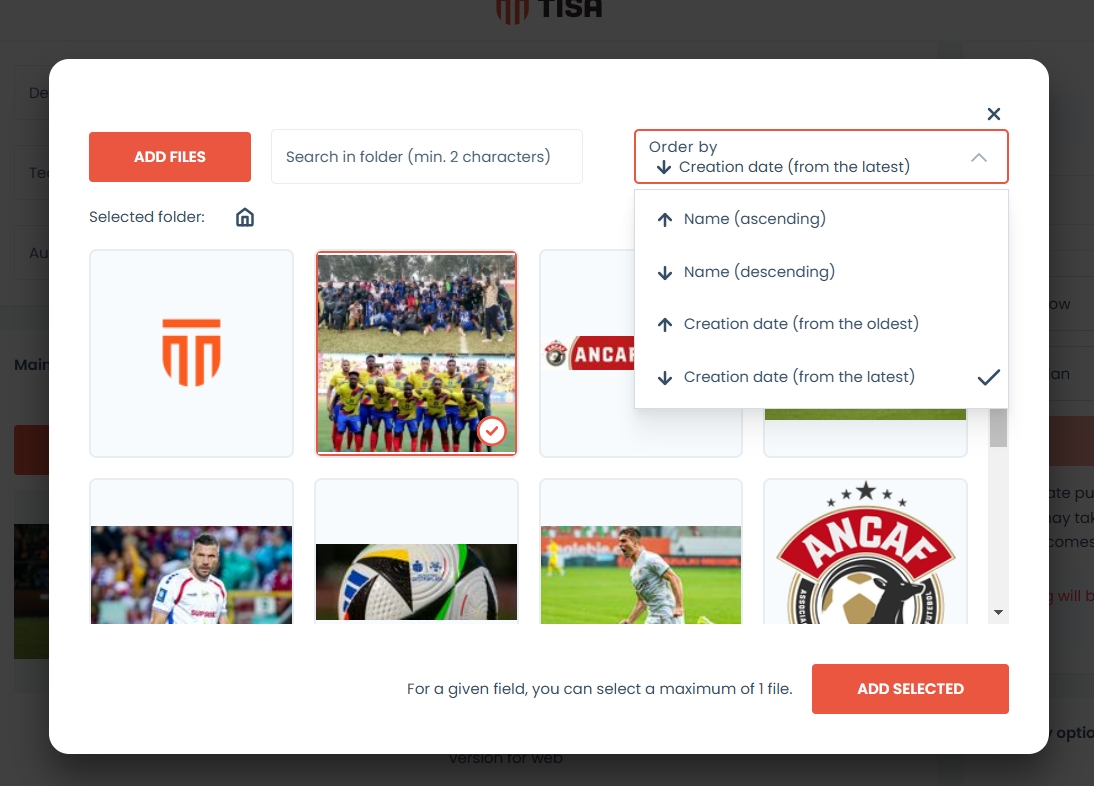
Aby wyszukać obraz, wpisz co najmniej 2 znaki, aby rozpocząć wyszukiwanie.
Aby posortować pliki i foldery według daty lub nazwy, użyj pola sortowania.
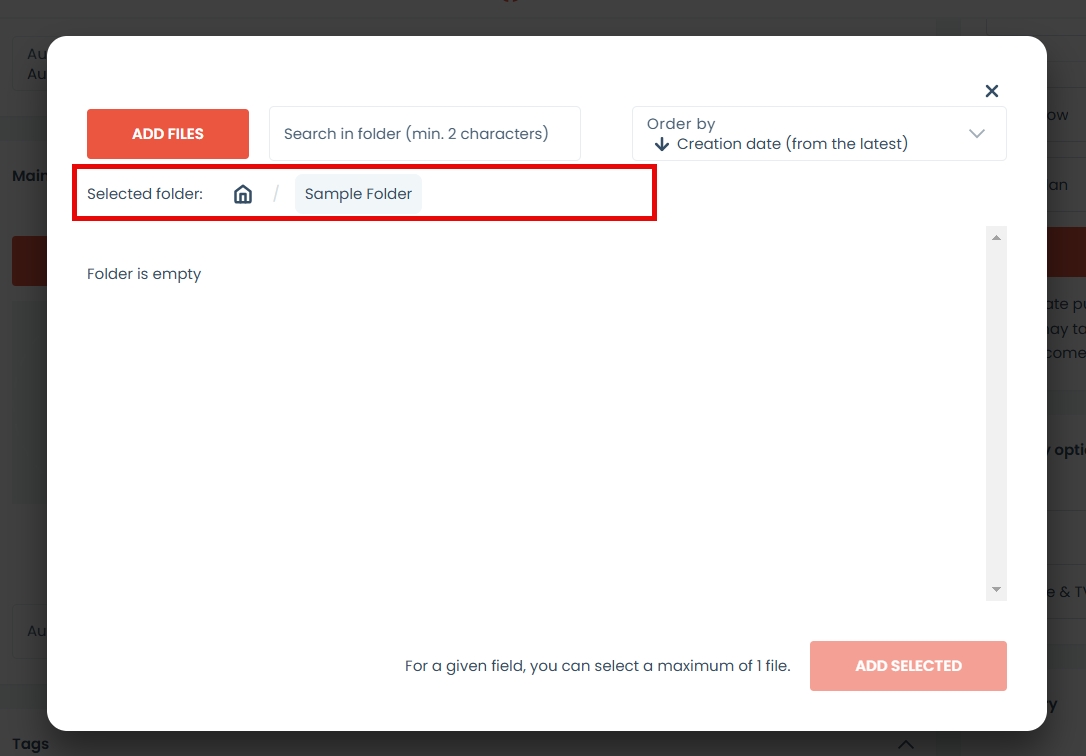
Aby poruszać się między folderami, użyj nawigacji ścieżkowej. Aby wrócić do wymaganego folderu, kliknij jego nazwę lub kliknij ikonę domu, aby wrócić do głównego katalogu.
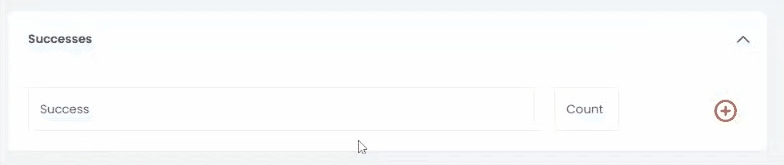
Sukcesy
Dodaj sukcesy do swojego klubu. Podaj tytuł sukcesu i policz, ile razy twój klub osiągnął dany sukces.
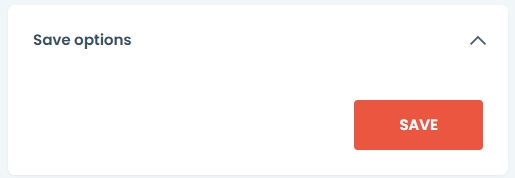
Zapisywanie profilu
Aby zapisać profil, przejdź do opcji zapisu i naciśnij czerwony przycisk zapisz.
Po zapisaniu profilu klubu, możesz teraz dodać zespoły do swojego klubu.
Teams
Tabela zespołów pojawi się, gdy profil klubu zostanie zapisany. Tabela wyświetli kolumny:
Zdjęcie w tle
Nazwa drużyny
Sezon
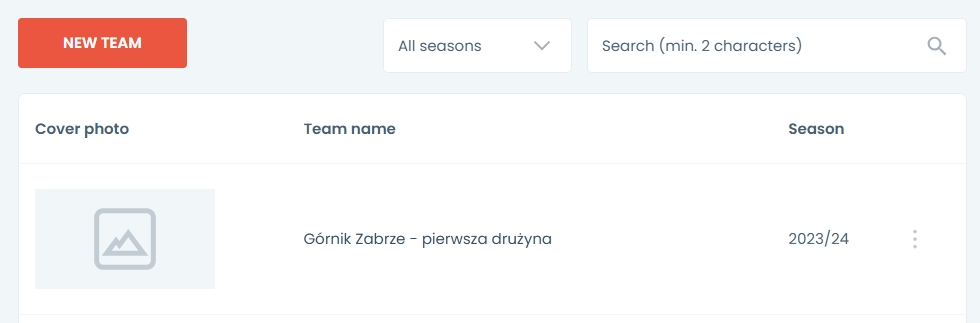
Aby dodać zespół, naciśnij czerwony przycisk Nowy Zespół 
Pojawi się nowy formularz zespołu.

Wpisz nazwę drużyny. Jeśli jest to główny zespół klubu, zaznacz pole Główna drużyna.
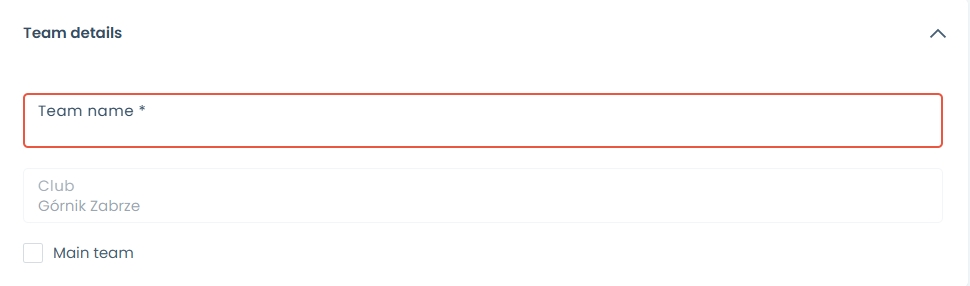
Teraz możesz zapisać zespół. Panel zespołu pojawi się po zapisaniu zespołu.
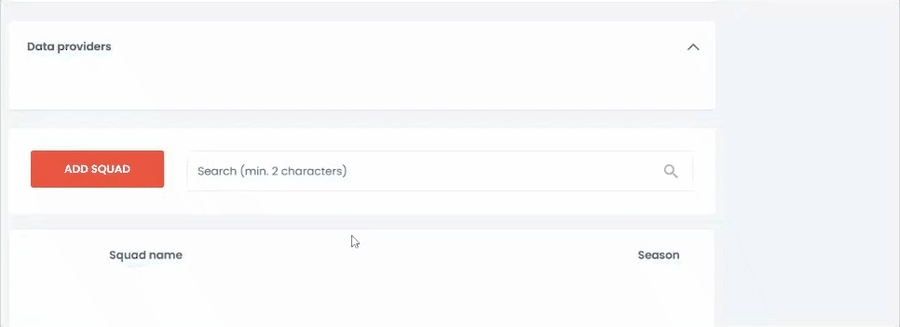
Składy
Aby dodać drużynę, naciśnij czerwony przycisk „Dodaj drużynę”. Jeśli masz wiele alternatywnych drużyn, skorzystaj z pola wyszukiwania obok przycisku.
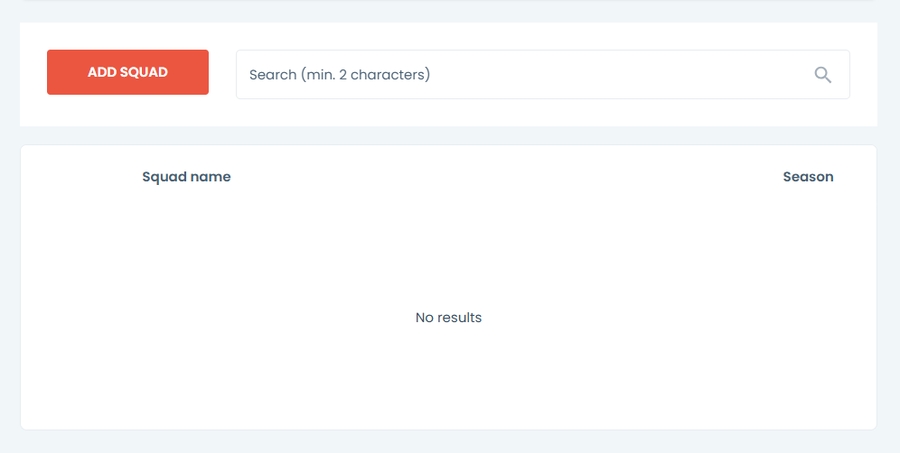
Pojawi się okno zespołu. Podaj nazwę i wybierz sezon.
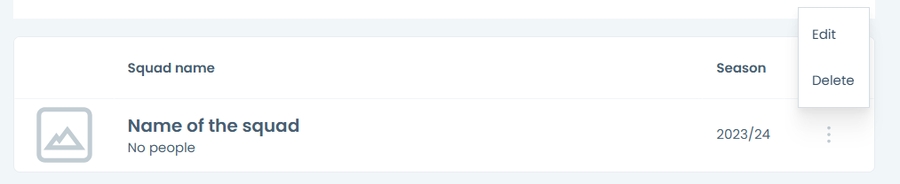
Naciśnij przycisk edytuj, aby dodać graczy do drużyny lub naciśnij usuń, aby usunąć drużynę.

Składy
Nowy panel drużyny zostanie otwarty. Wybierz zdjęcie na okładkę z biblioteki.
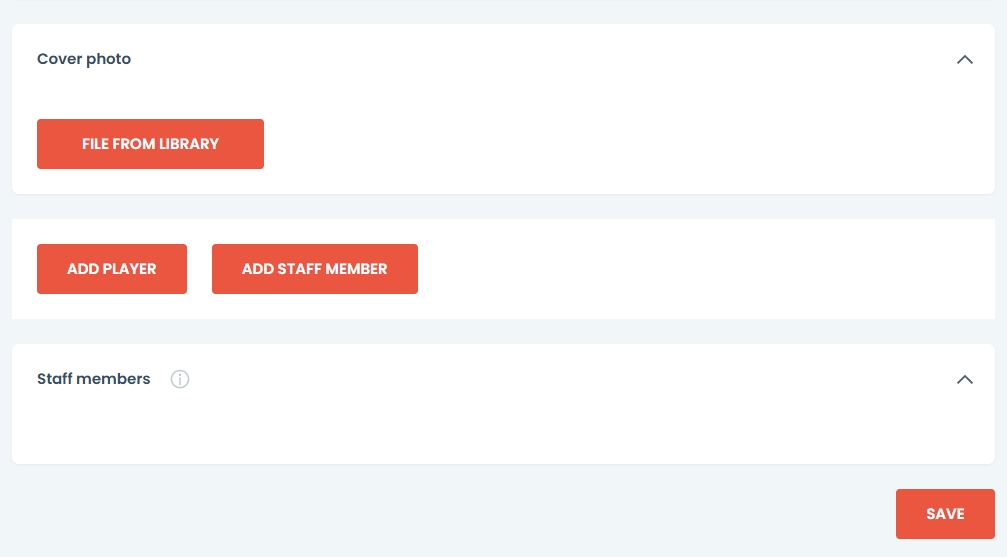
Dodaj graczy, klikając przycisk Dodaj gracza
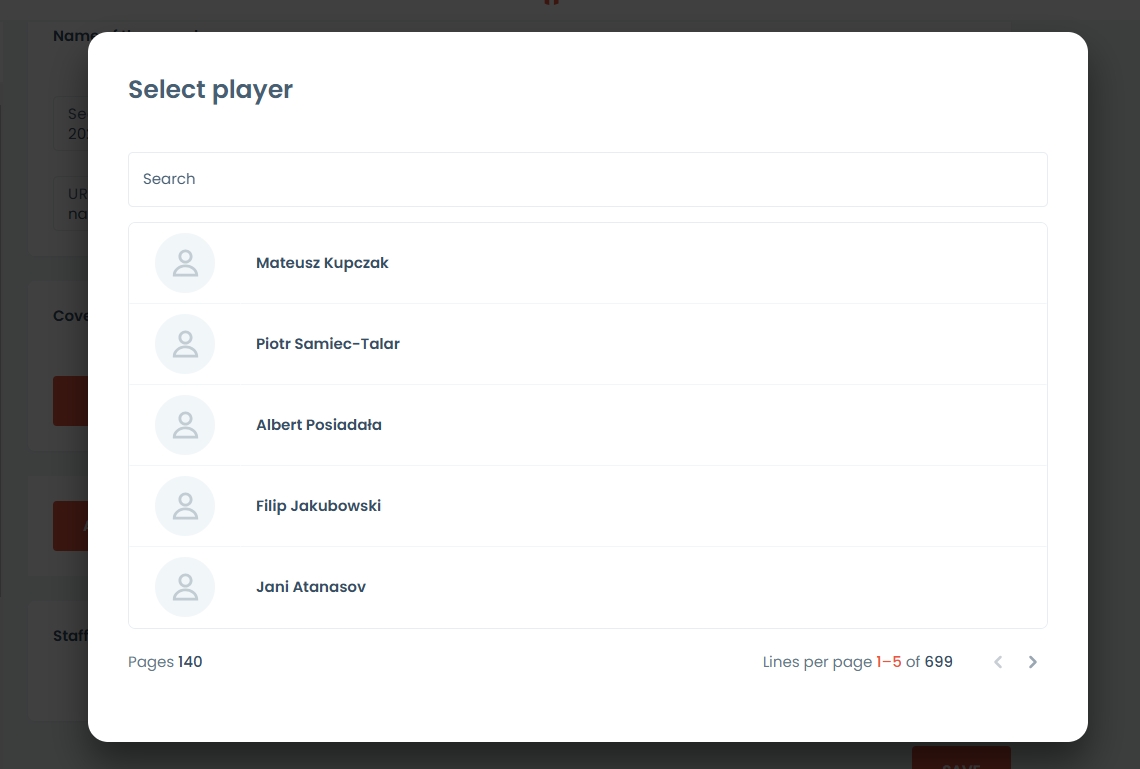
Wybierz lub wyszukaj gracza w tabeli.
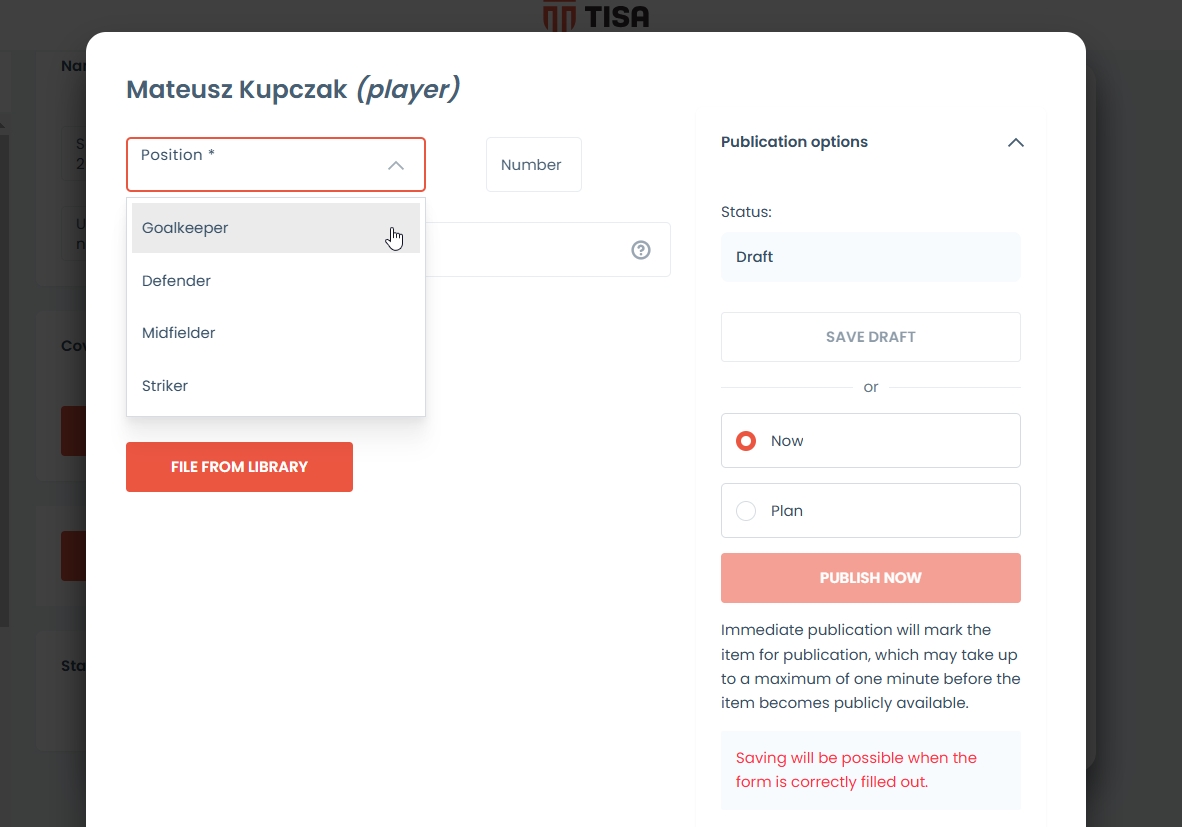
Po wybraniu zawodnika uzupełnij formularz, podając pozycję i numer.
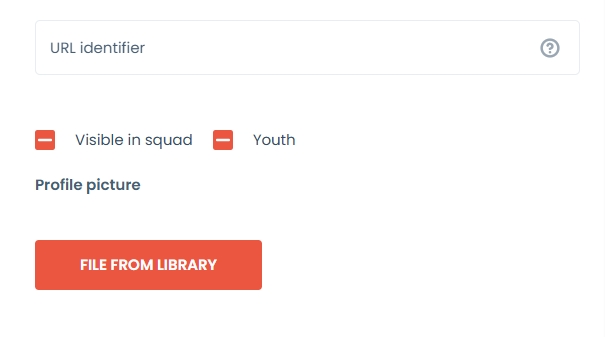
URL zostanie wypełniony automatycznie.
Wybierz, czy gracz powinien być widoczny w składzie, klikając przycisk widoczny w składzie.
Wybierz, czy gracz powinien być uważany za młodego zawodnika.
Po skonfigurowaniu gracza możesz opublikować go na stronie głównej.
Jeśli naciśniesz zapisz, gracz będzie widoczny tylko w panelu administracyjnym.
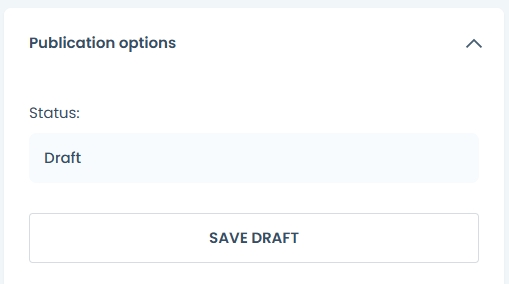
Opcje publikacji pozwalają zdecydować, czy i kiedy gracz będzie widoczny na Twojej stronie.
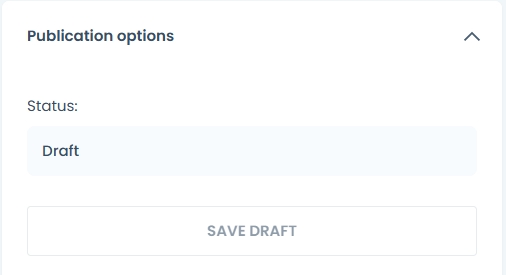
Aby zapisać szkic, wybierz przycisk zapisz szkic znajdujący się poniżej statusu.
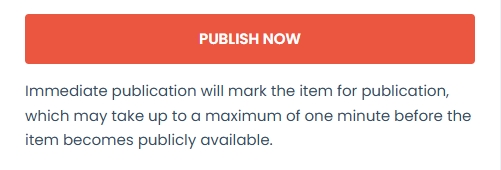
Aby opublikować teraz wybierz opcję teraz
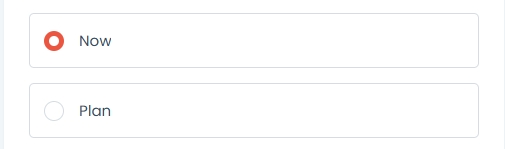
Następnie naciśnij przycisk opublikuj teraz.
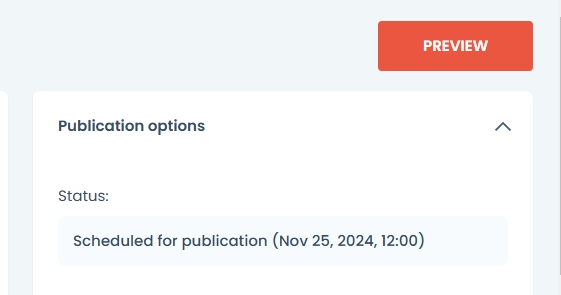
Aby zaplanować publikację:
Wybierz opcję planu

Wybierz datę
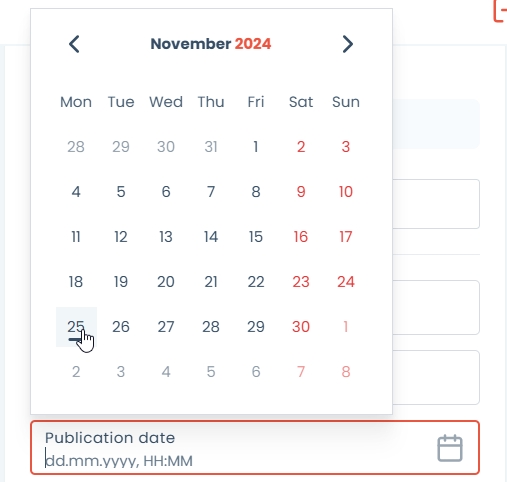
Kliknij przycisk zaplanowania publikacji


To unpublish a player select save as a draft button when an event is already published.
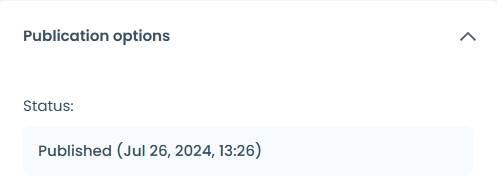
To check the publication status see the status field above save draft button. Status field will display:
Draft status - the player will not be visible
Published status - when the player is visible to visitors. Date and time of publication will also be visible.
Scheduled for publication - when you have selected plan option the future date of the publication will be displayed next to the status.
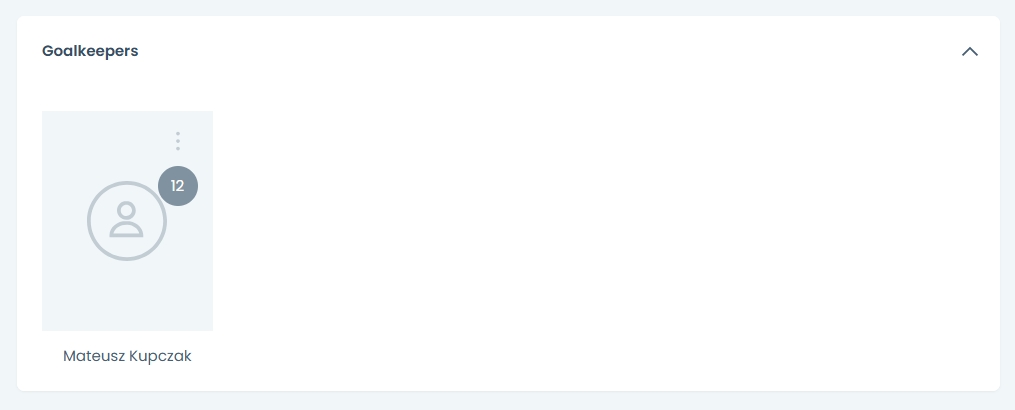
Once saved the players are segragated according to the selected postion. The players will be displayed with their profile picture and their number.
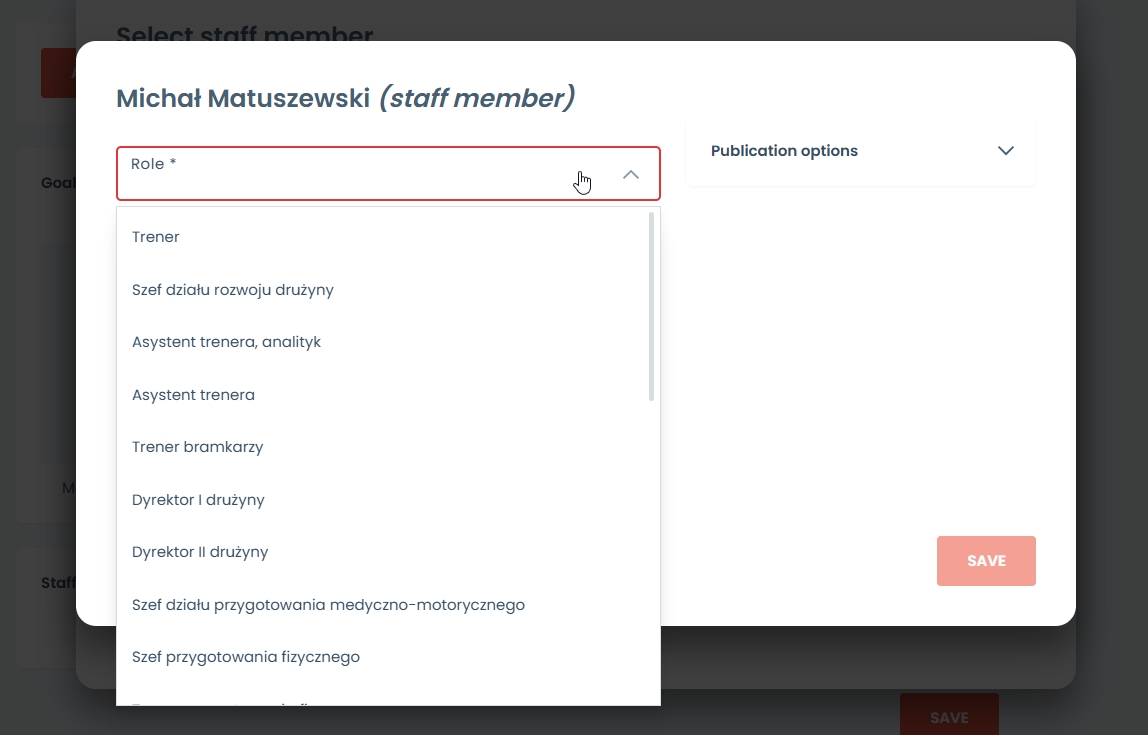
Staff
Select the staff by pressing ADD STAFF MEMBER button.
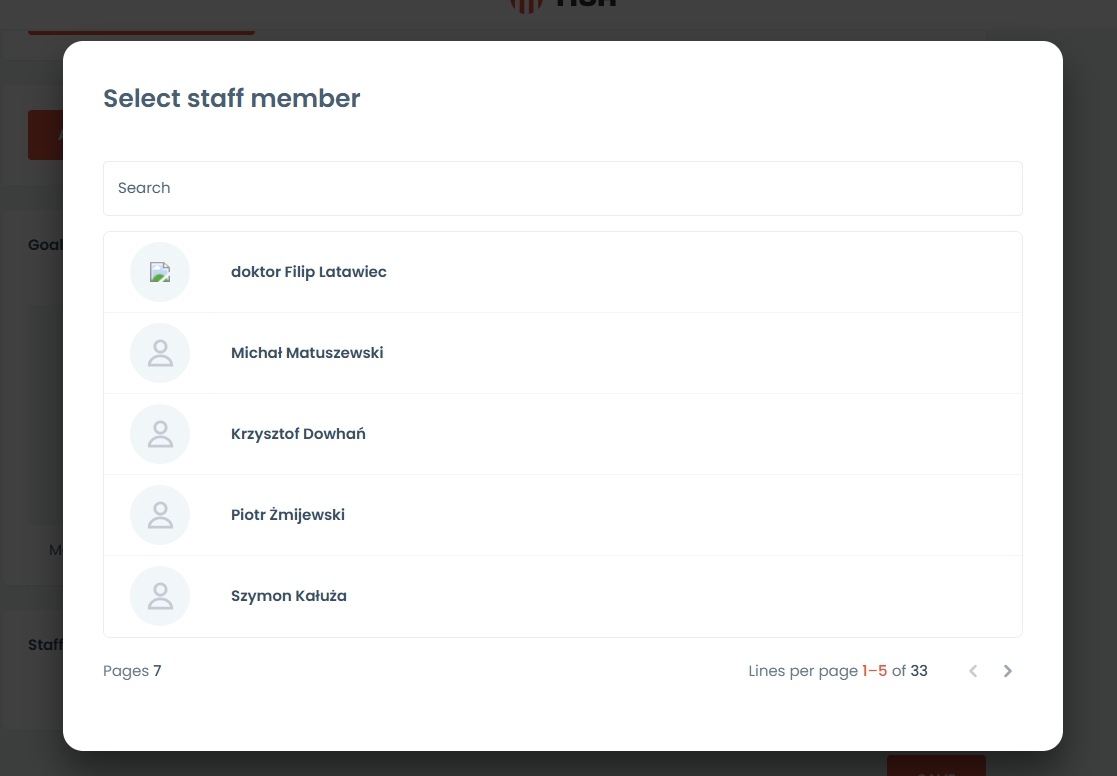
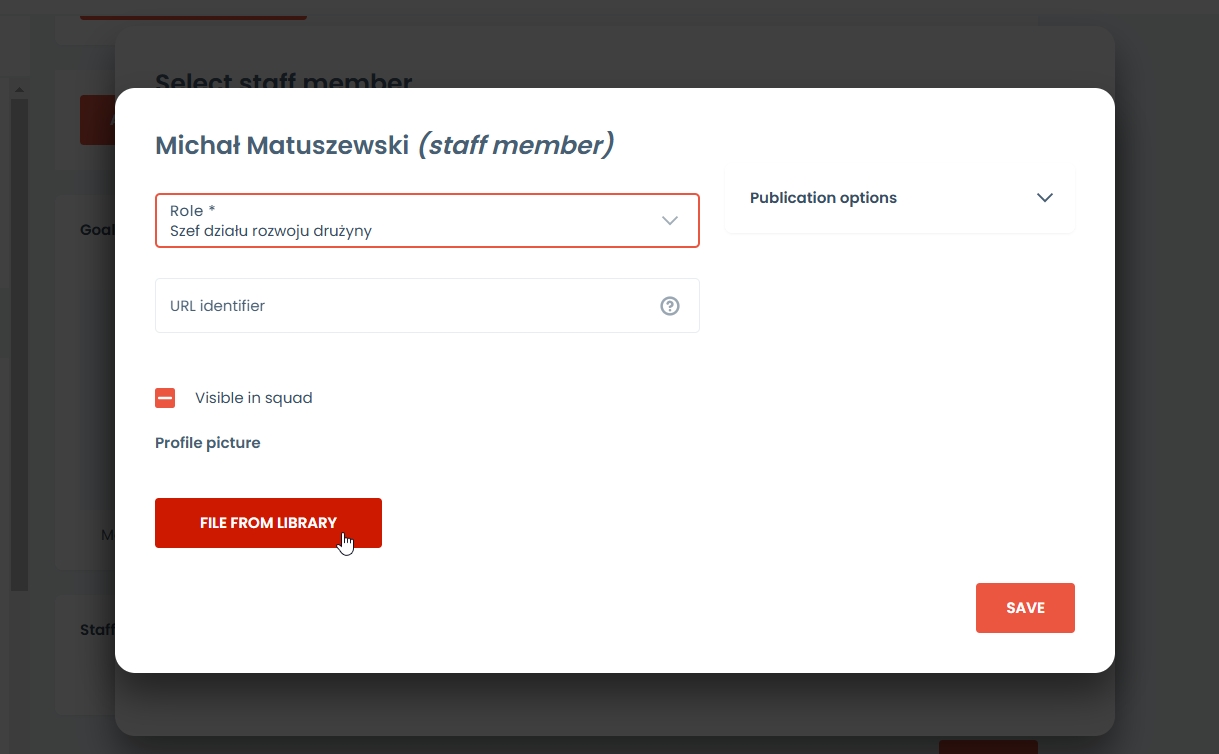
Once you select a member, provide his role in the squad from previously configured roles
Prześlij zdjęcie profilowe i zdecyduj, czy dany pracownik powinien być widoczny.
Postępuj zgodnie z procesem publikacji opisanym w sekcji dla graczy.
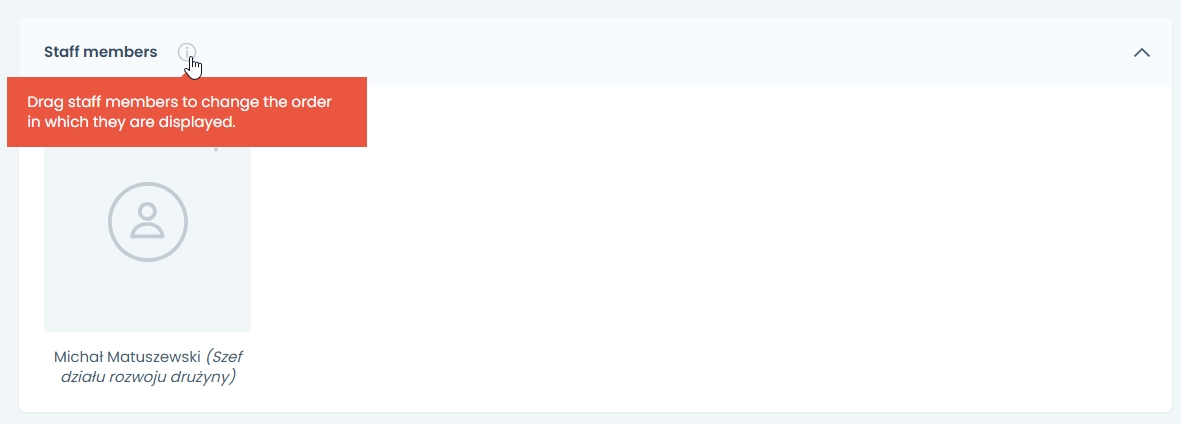
Członkowie personelu będą widoczni w oddzielnym segmencie wraz z przypisaną rolą.
Aby zmienić kolejność wyświetlania członków zespołu na stronie, przytrzymaj zdjęcie i przesuń je na pożądaną pozycję.
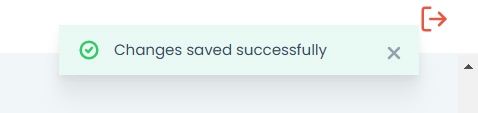
Po ustawieniu wszystkiego naciśnij przycisk zapisu na dole. 
Pojawi się powiadomienie informujące, że wszystkie zmiany zostały pomyślnie zapisane.
Teraz, gdy ustawienia klubu są ukończone, możesz wrócić do tabel zespołu.
Jeśli masz już utworzone zespoły, możesz filtrować je według sezonu. 
lub wyszukaj drużynę, wpisując co najmniej 2 znaki 
Aby edytować zespół, kliknij w dowolnym miejscu w wierszu lub naciśnij ikonę opcji. 
i wybierz opcję edycji 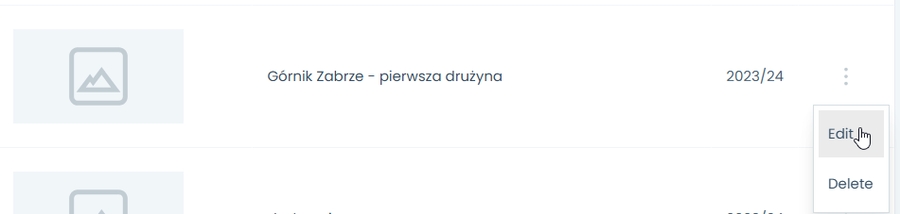
Aby usunąć zespół, wybierz opcję usuń\
Zarządzanie profilem klubu
Po utworzeniu klubu można zarządzać i edytować jego ustawienia. Zobacz artykuł o Panelu Klubu.
Last updated