
Tworzenie Stron Statycznych
STATIC SITE FORM
Requirements:
To create a static Site you require:
Title Image uploaded to the media library or ready on your disc
Configured at least 1 category in settings module
To open a new Static Site form:
Go to the Static Site Dashboard
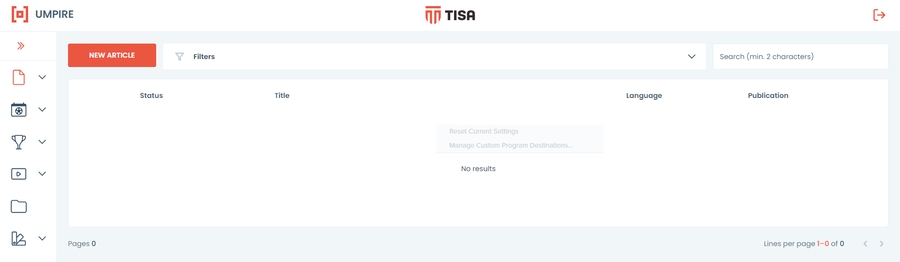
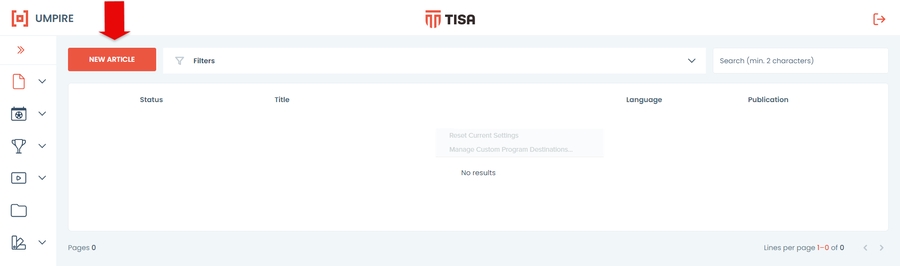
click on the new Static Site button located on the upper left of the article board.
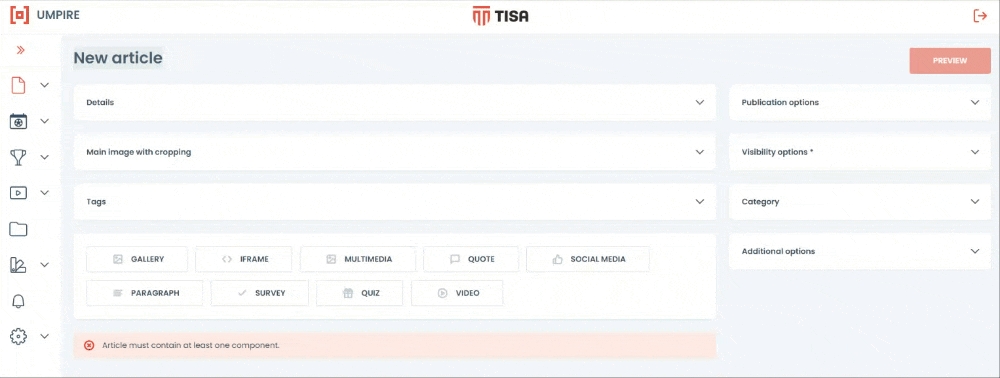
The form is the divided into convienient panels that group settings creating a clear workflow.
Remember to save any changes. If you exit the form the article will not be saved.
DETAILS PANEL
In the Details panel type in:
Title - this will be displayed as content name
Teaser - a tagline of what an article is about
Author
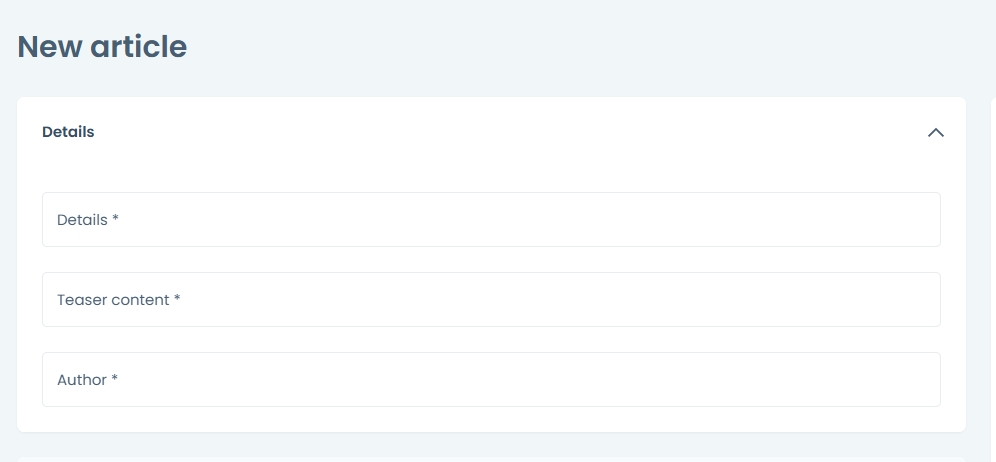
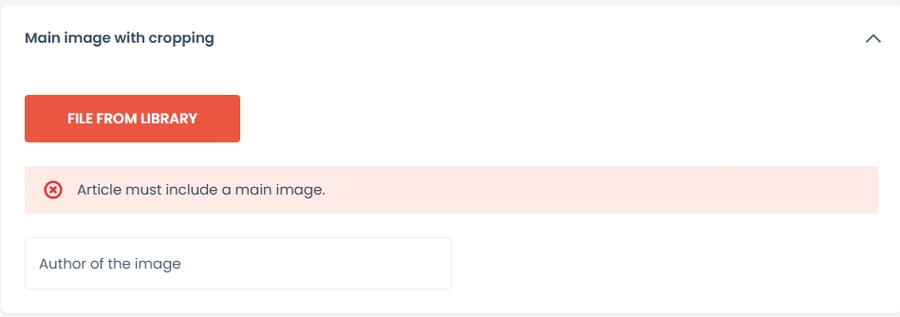
IMAGE PANEL
Static Site requires a title image to be displayed on your frontpage.

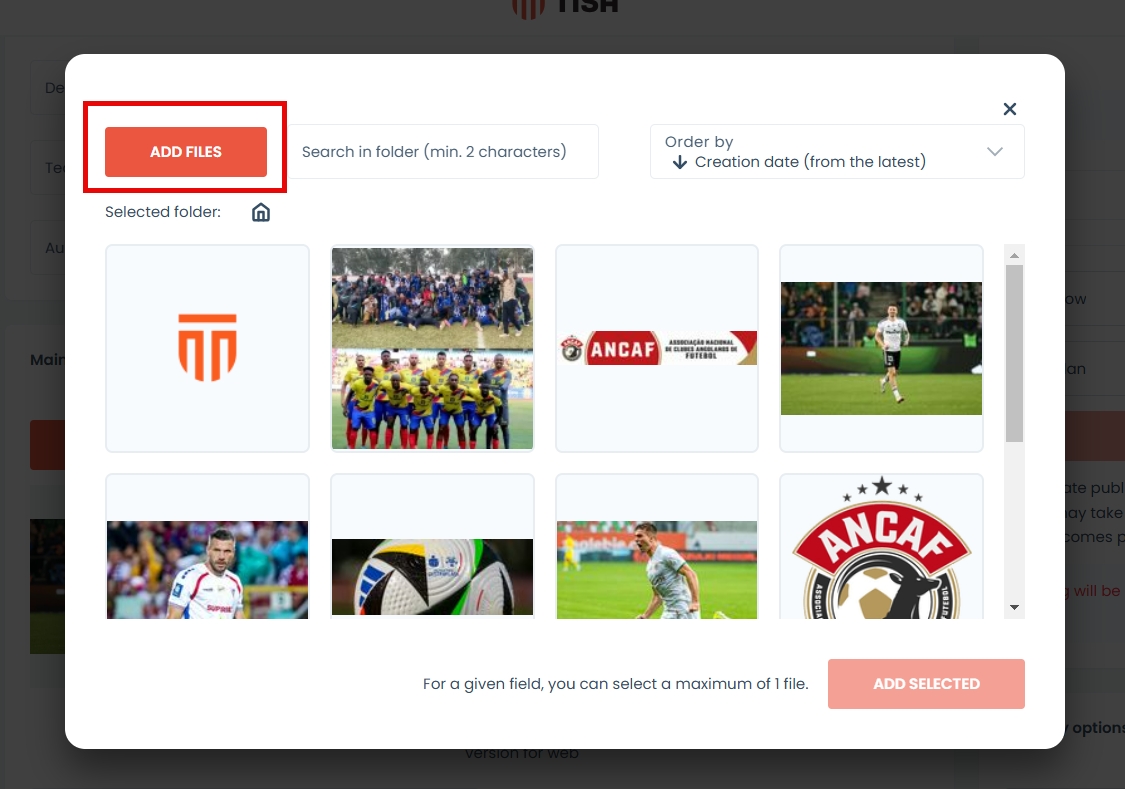
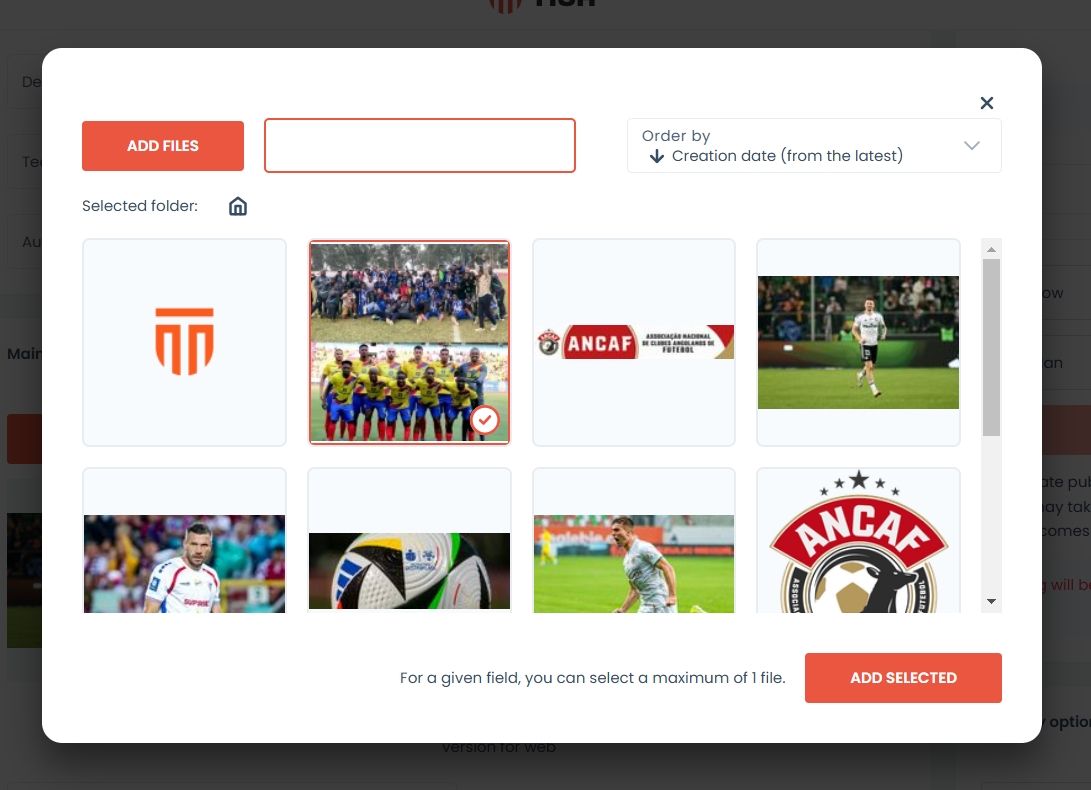
To add an image click on the file from library button. The Media Library panel will appear.
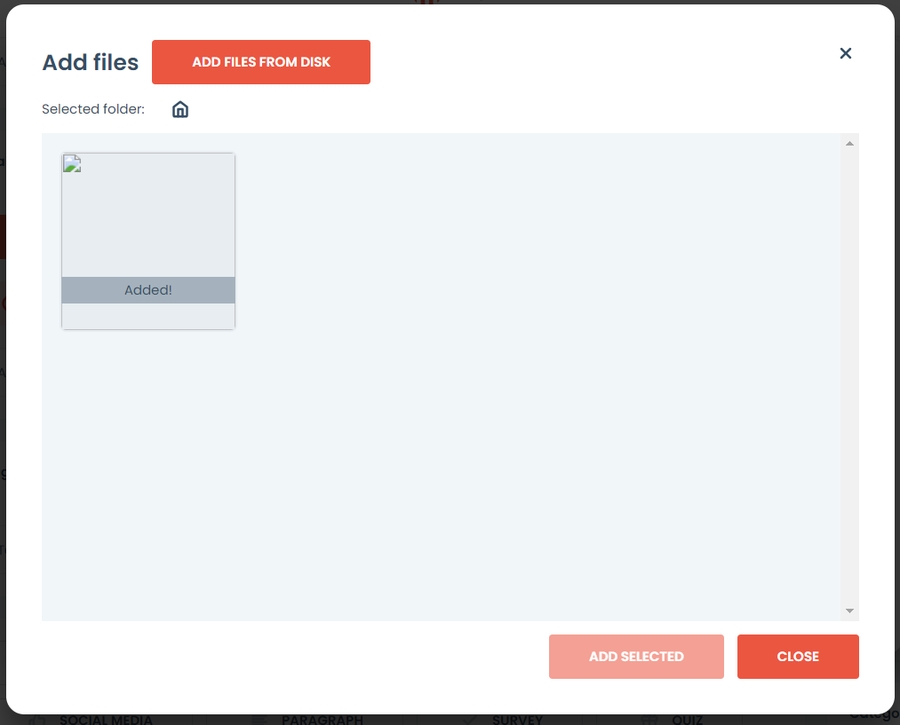
If you do not have files in media library you can also add images directly from your computer. To do this you need to:
Open library by pressing File from library
Press Add files

Press add files from disk or drag them directly onto the grey field.

A toast message will appear informing if the upload was successful.
Your file is now in the library. Press close to go back to the form.
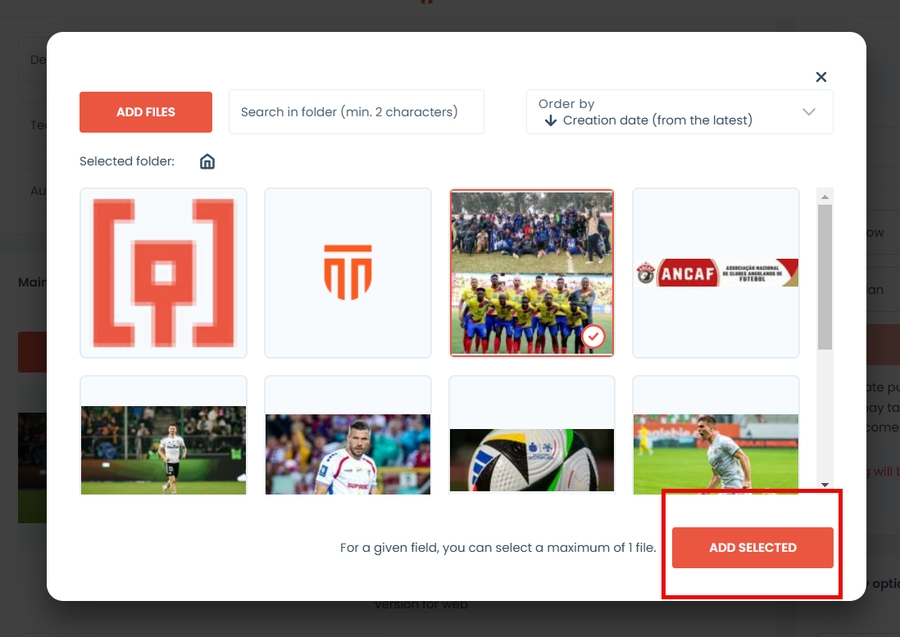
Select the image. And press add selected button
If you have an image already uploaded go to step 6. Once the image is added, it will automatically crop in 4 variants:
Original
Desktop Hero Image
Mobile Hero Image
Thumbnail for article lists.
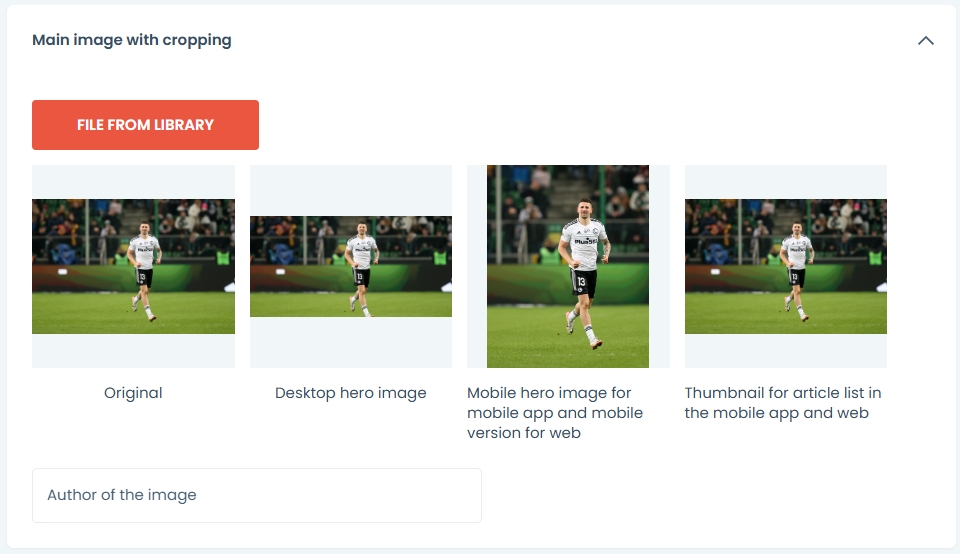
Image tools allow to crop images according to your liking. Just press the image you want to crop. Cropping panel will appear. On the right you will find photo specifications:
Dimention
Recommeded size
Selected area
Photo ratio
To crop simply reposition the highlighted blue field using marked dots.
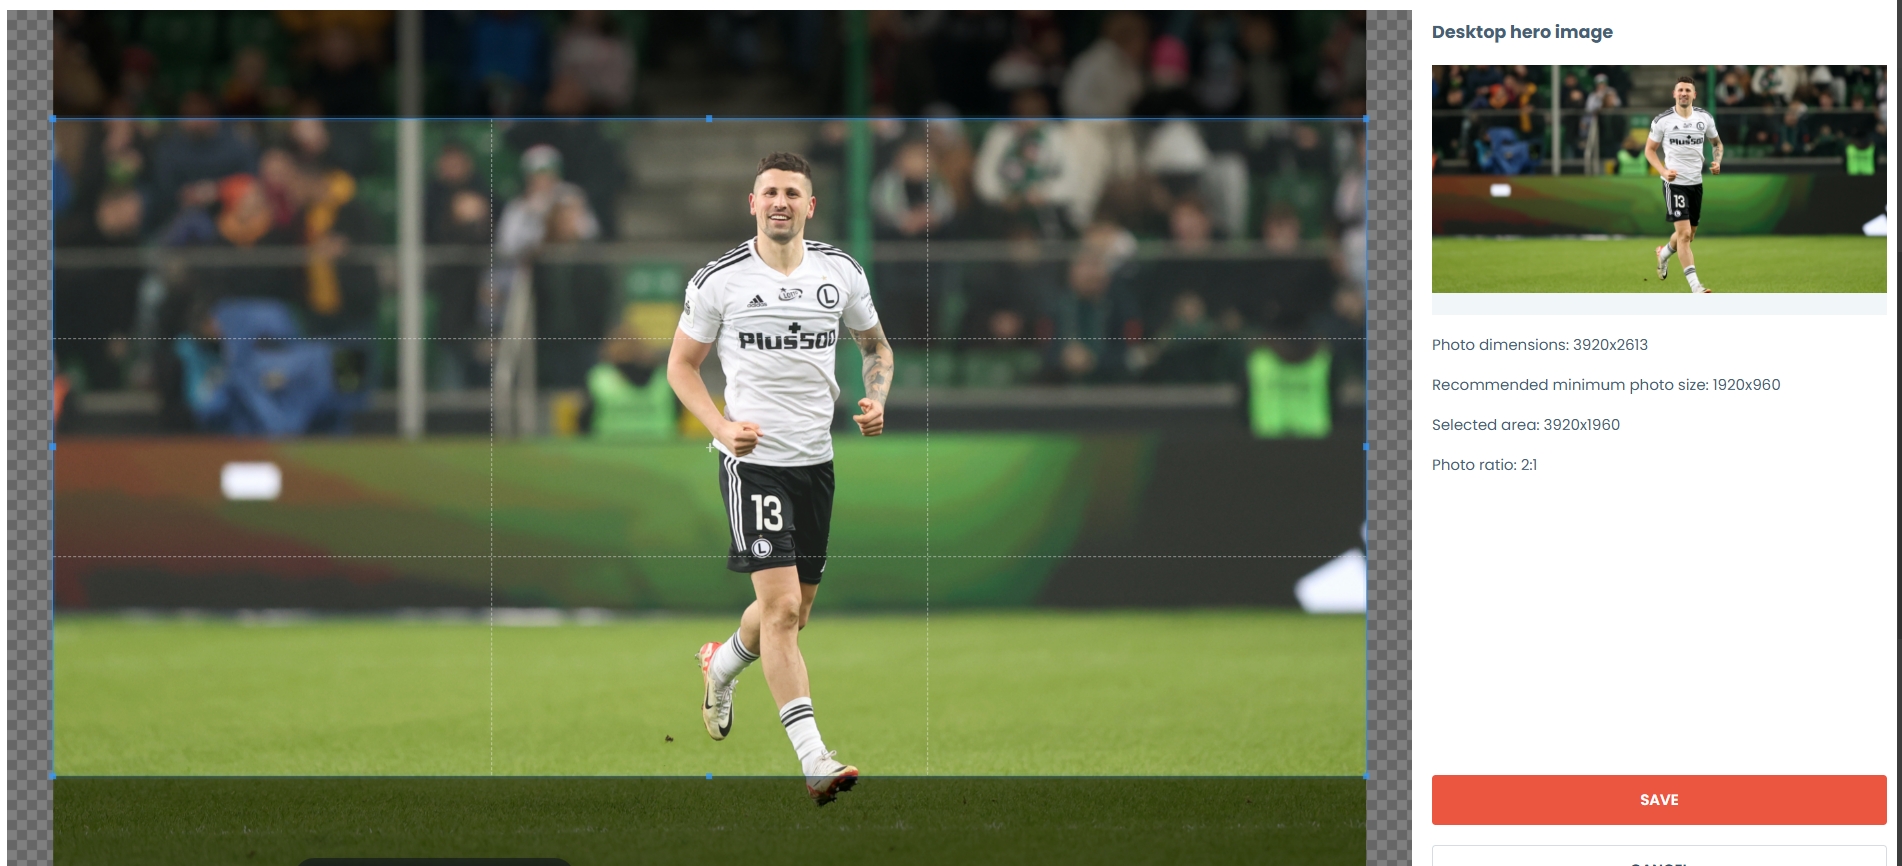
Press save once the cropping is done or cancel to abort changes.
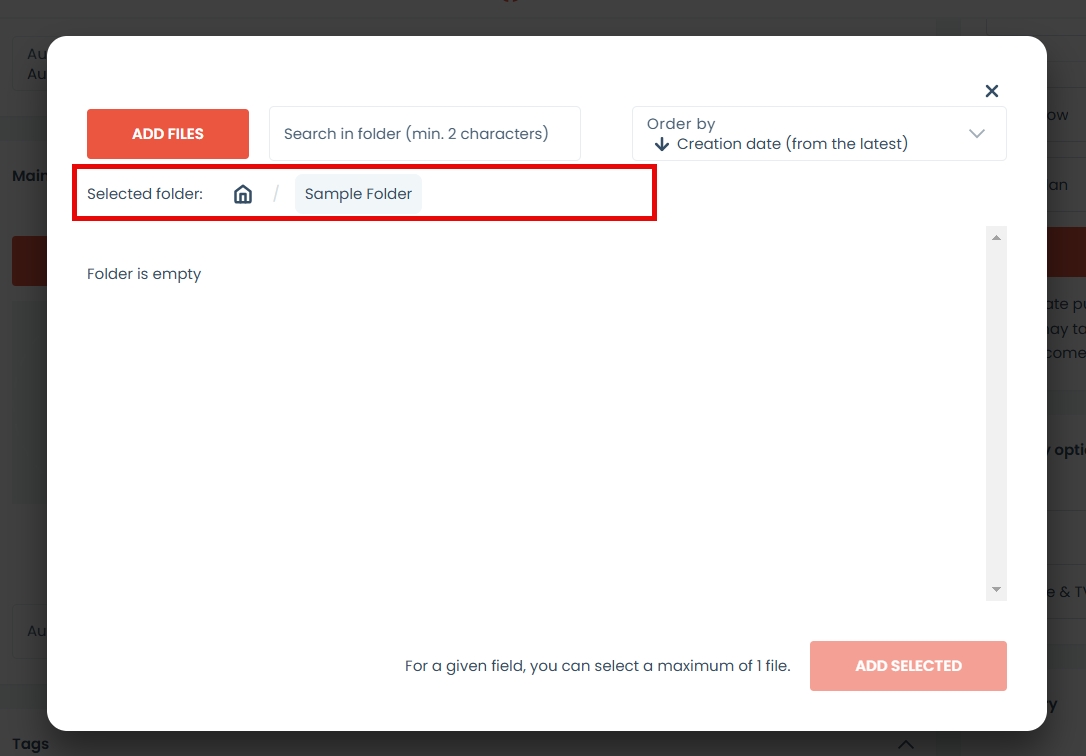
If you cannot find the image use one of the browsing options:
To search field. Type in at least 2 characters to strart searching.
To sort your files and folders by date or by name use the sorting field.
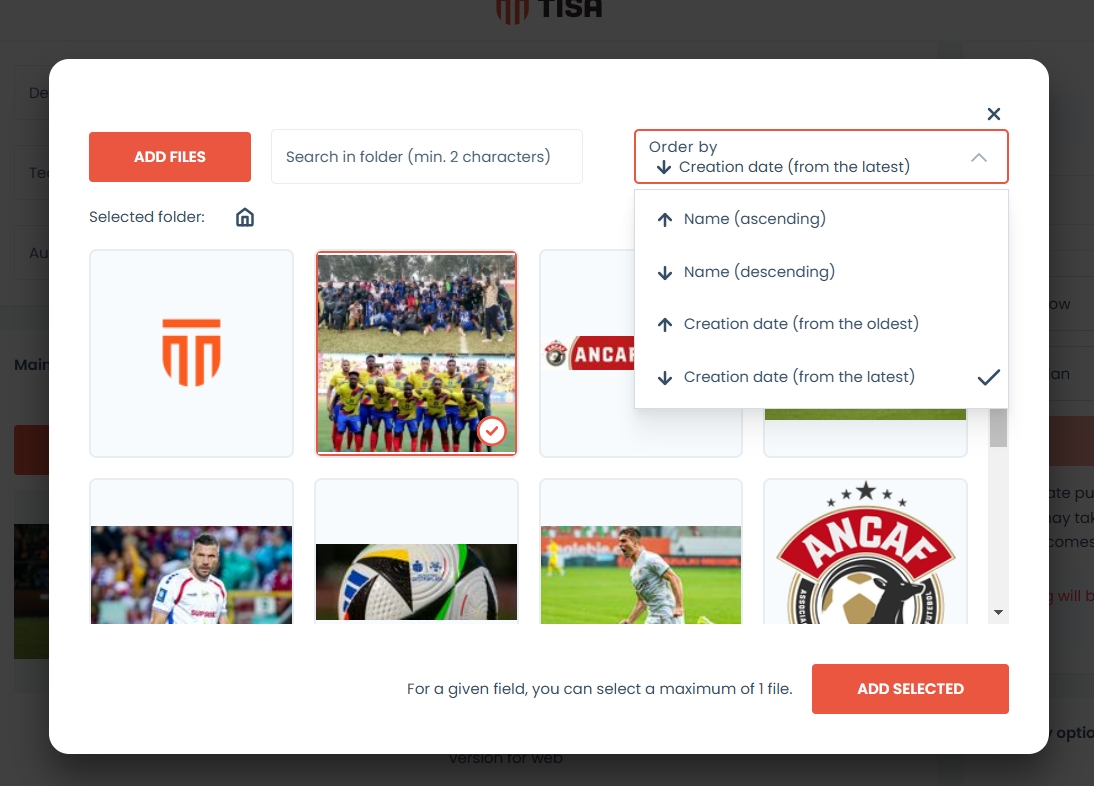
To navigate between folders use breadcrumb navigation. To go back to the required folder just click on its name or click on the home icon to go back to the main directory.
ADDING FEATURES
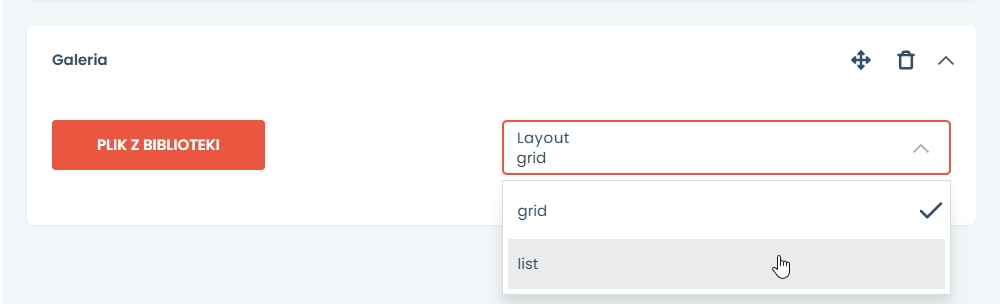
Gallery
To add a gallery, click on the gallery tile in the features panel. The gallery panel will appear automatically.
Choose the files you want to display from the library.
Choose the layout of images to be displayed on the front page.
Options presented are:
Grid
List
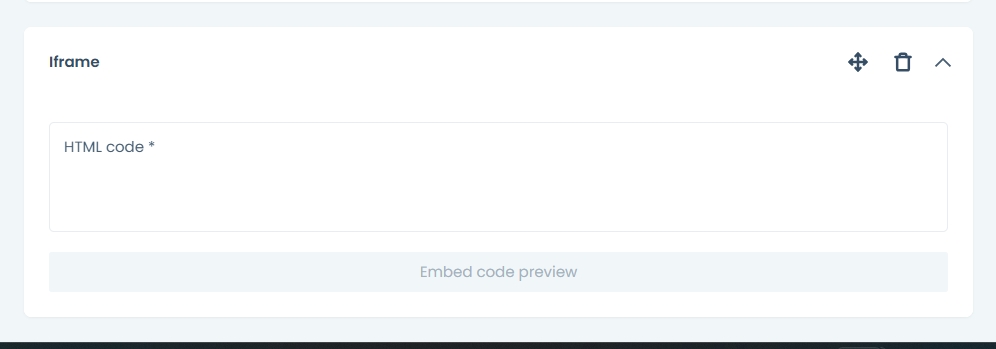
Iframe
To add an iframe, click on the iframe action field. The component will appear automatically. Paste the HTML code, and you can also preview how the embedded document will look on the page.
Use the Iframe component when you want to embed external content, images, graphics, or other websites onto the page.
Multimedia
To add multimedia, choose a file from the library (see the multimedia library article for how to select a file - LINK). Complete the fields for the photo’s author, description, and the URL to which the user should be redirected upon clicking the displayed file.
Use this component when you want to include a document, article, or other content while presenting the link in a way other than text.

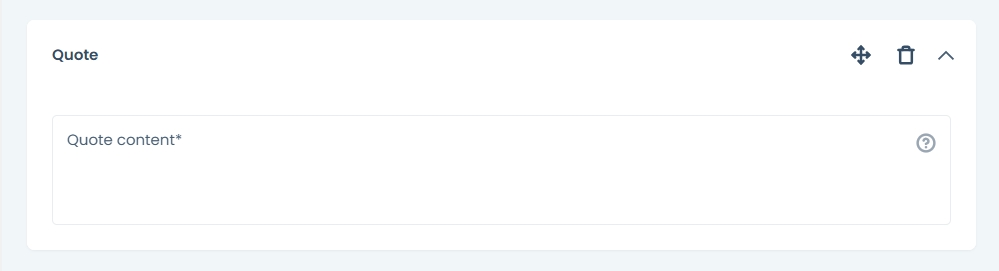
Quote
To add a quote, fill in the quote content field. The quote will be displayed within the selected content.
Quiz
To add a quiz, select the quiz from the field with available created quizzes. For more information on quizzes, see the quiz article - LINK.
Survey
To add a survey, select the survey from the field with available created surveys. For more information on surveys, see the survey article - LINK.
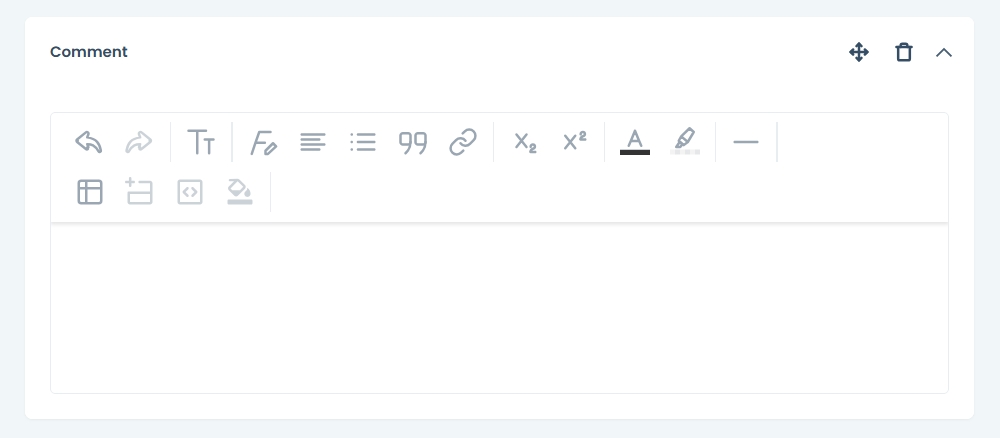
Paragraph
To add a paragraph, enter the content in the text editor field. Available tools allow you to format and edit, add embellishments, links, quotes, and tables.
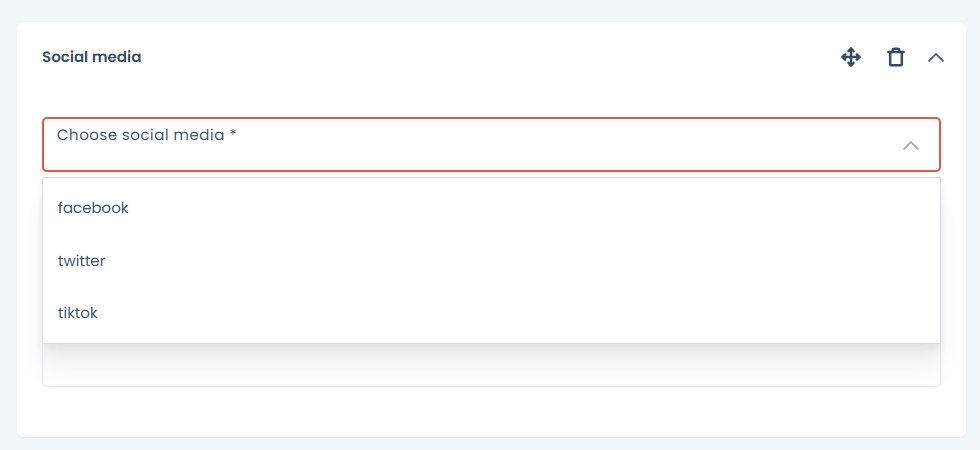
Social Media
To add social media content, choose the social media platform from which you want the post to be visible. You can only select one platform; if you want to add more, you need to add another social media component. Then, add the URL and, if necessary, add a comment to the post.
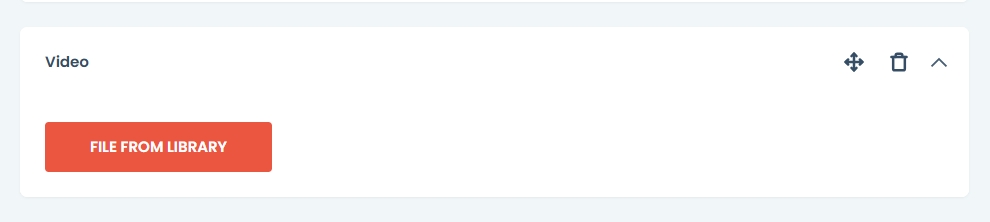
Video
To add a video, select a video file from the library. To learn how to select a file from the library, see the article - LINK.
METADATA
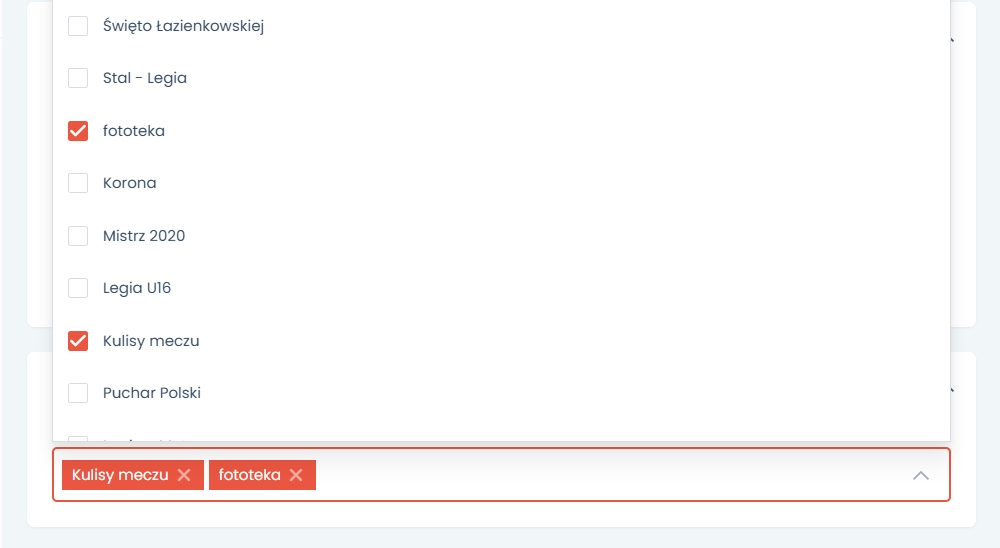
Adding Tags
In the Tags panel click on the field to select desired tags specific to this content’s topic. Tags allow for grouping content based on common attributes to facilitate user’s search for all related content as well as positioning in the search engine To read more about tags go to TAGS article.

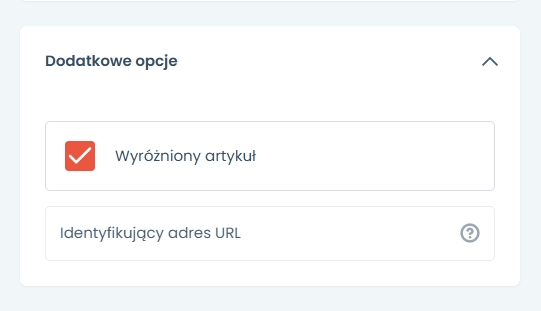
Additional Options
In the additional options panel you can also customise the url according to your preference. If you leave this field empty the url will generate automatically.
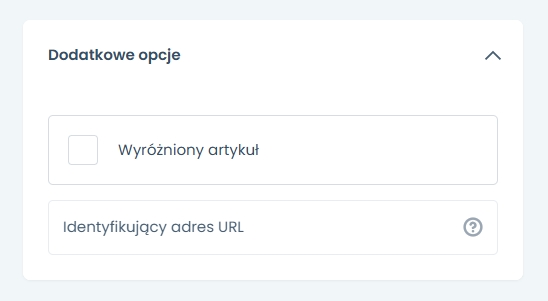
Select the field featured to add this article to the promoted list visible on the front page and display it in the hero section.
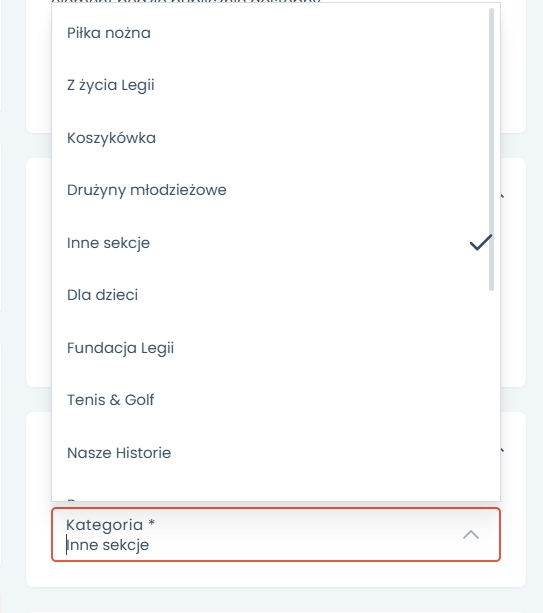
Category Panel
Categories segregate the content into different branches depending on your organisation structure or activity.
Click on the category field - a dropdown will open with all available categories listed. To select one simply click on the name of the category.
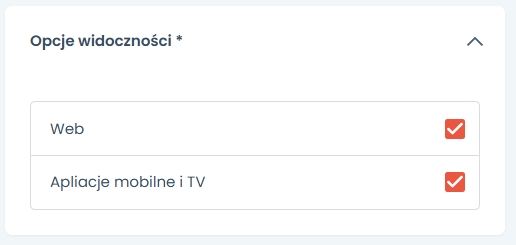
Visibility Options
Select on which devices you would like your static site to be visible:
Web - desktop
Mobile and TV
PUBLICATION OPTIONS
In publication options you can select:
Save as draft
Publish
Plan - allows for automatic publication of format on selected date and time specified in the Publication date field.
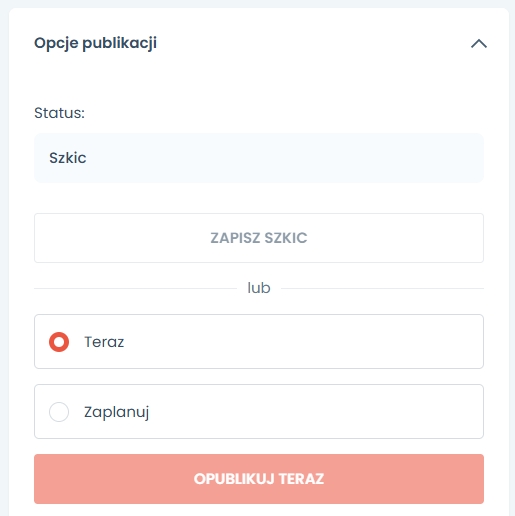
Status of the static site will be displayed in publication options along with the date and time of publication.
Preview button - Located on the right side above the form. To see how the article will look on the website.
CONTACT
Should you have any questions, suggestions or issues please do not hesitate to contact us at [email protected]